
Let’s say you own a mac and you installed Windows into a second partition of your hard drive via Boot Camp, and let’s say you need to access your alternate OS from its partition often but you won’t reboot everytime.
Several softwares enable you to do that using OSX as your main OS: Parallels, VMware Fusion, and VirtualBox are just the most known guys out there and all of them have options to boot a vm from a physical installation of Windows.
But what if you are in the opposite situation and you’re using Windows as the main OS and want to boot a vm from the OSX installed in the main partition of your hard drive?
Here’s how I made it possible with VMware Fusion 6 and VMware Player 6 for Windows.
NOTE: First of all I’ve to say this is a hack, not something I’d recommend for daily work, moreover remember that there’s your physical installation of OSX inside that vm so don’t mess anything up otherwise you’ll have to fix them the next time you’re booting to OSX.
These are the steps to follow to create a VM booting from your physical OSX installation:
- Boot your OSX and install VMware Fusion 6 (you don’t need the pro version for this) on OSX
- Create an empty OSX VM. Don’t use “Install OSX from recovery partition”, you don’t need a new installation, you’re going to make the VM boot your physical installation, so just create a custom VM. In my case I created it for Mavericks (10.9) and I really don’t know if it works with other versions of OSX.
- Open Terminal and type “diskutil list” in order to get the list of your partitions, you should get something like this.
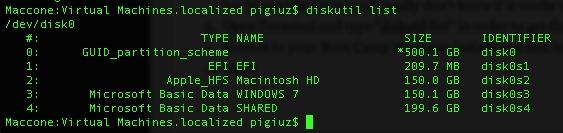
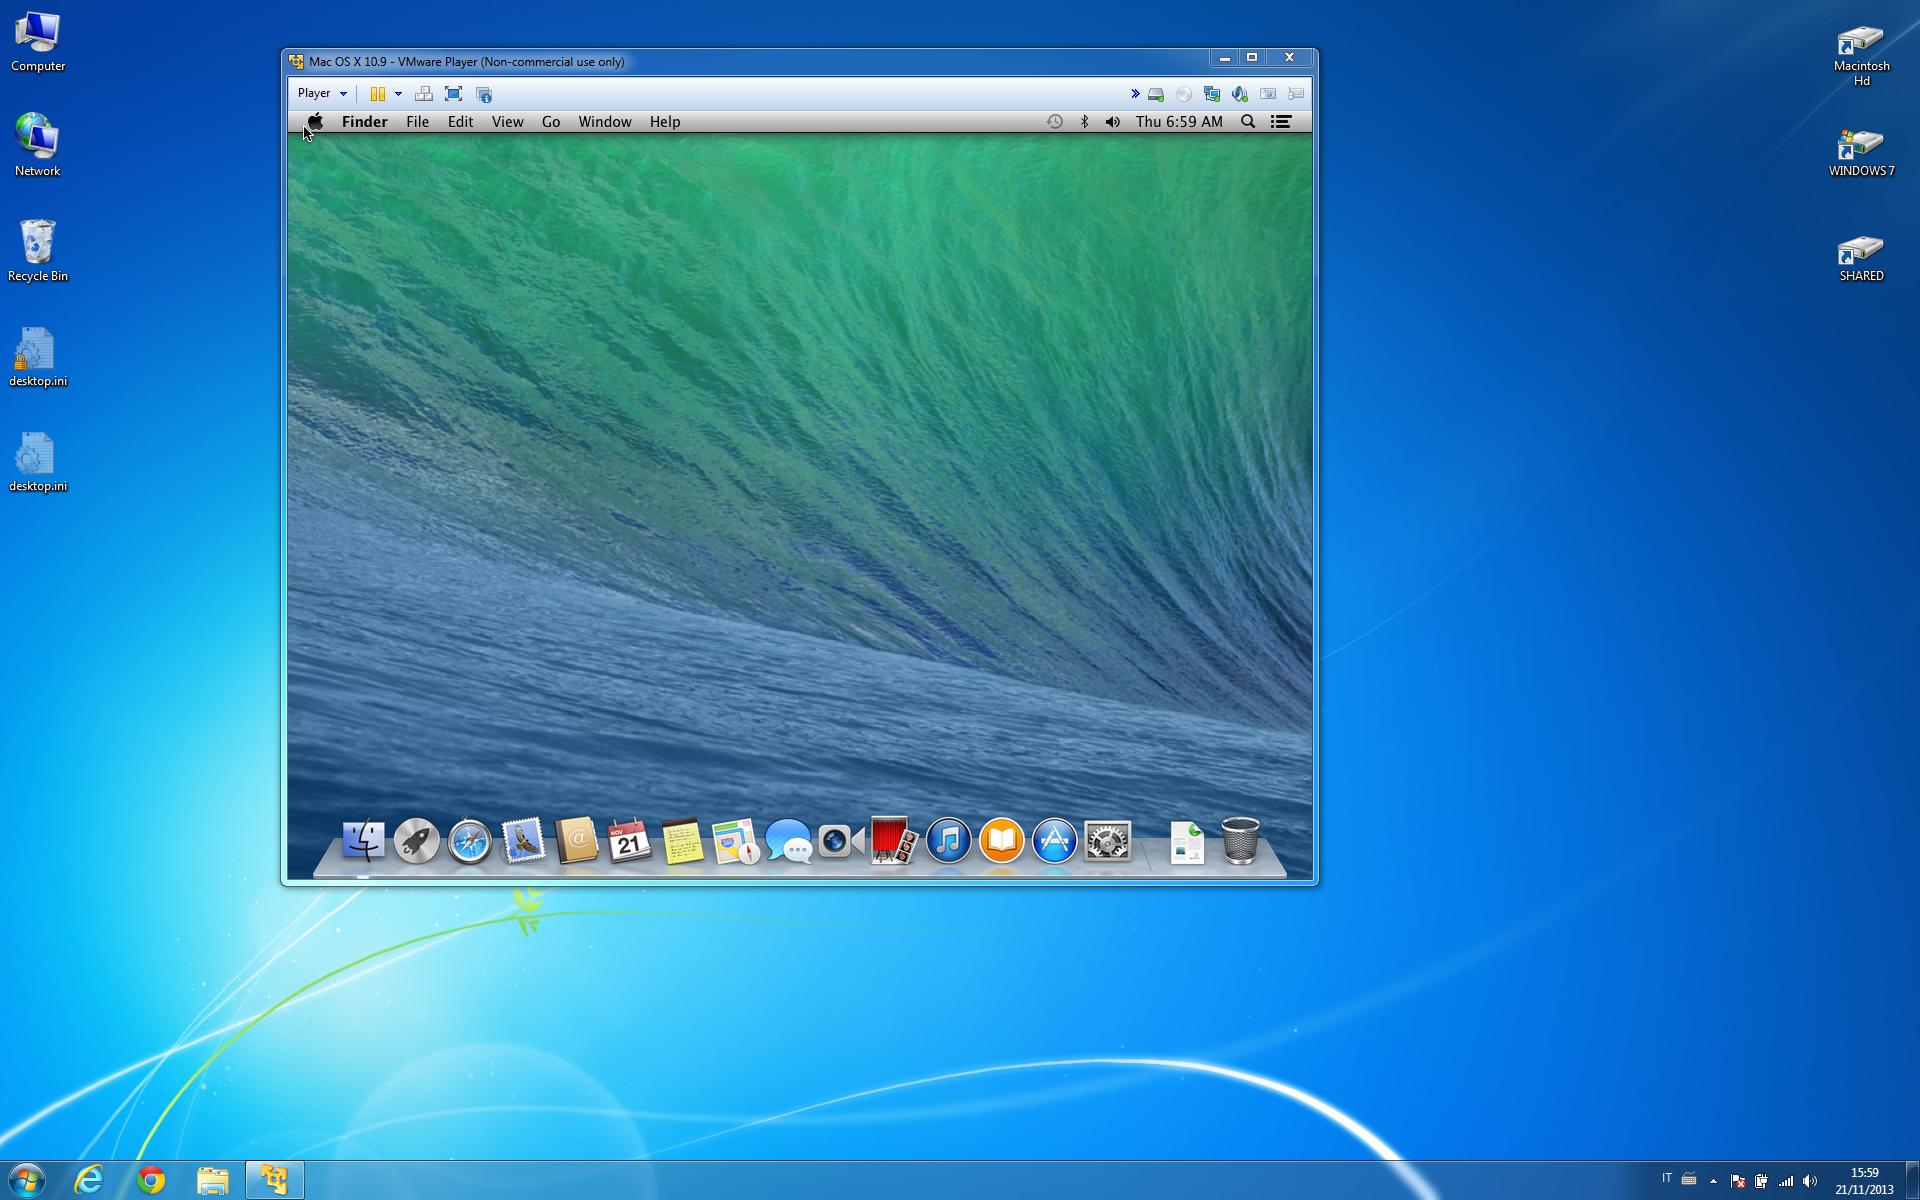
in the picture you can see that OSX is installed in partition 2 of disk0 (it should be the same for you, if it’s not just take a note of your partition number and use that instead) - Reboot to your Boot Camp Windows installation and install VMware Player 6 (again, you don’t need any pro version, moreover the player is free for non commercial usage)
- Open the blank OSX VM settings with VMware Player (Fusion should have created a .vmwarevm file that Windows sees as a folder, inside that folder there’s the actual VM file which has a .vmx extension)
- Remove the current Hard Disk from the settings (the blank VM should have a SATA virtual disk sized 40gb) and replace it with a physical disk, here’s the steps to follow:
- Click the “Add” button at the bottom of the hardware tab in Virtual Machine Settings dialog and click next
- Select Hard Disk from the hardware types list and click next
- Select IDE from the virtual disk type options and click next
- Select Use a physical disk (yes, for advanced users) and click next
- Select Use individual partitions and click next
- Now, remember the partition you listed on the terminal when you booted on Mac? Select the partition where your OSX is installed, the partition file system should be Apple HFS… and click next
- Choose a name to save that virtual disk configuration and click finish!
- You should now have a configuration similar to this
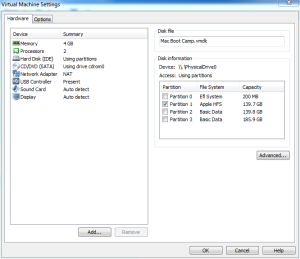

Now your VM is ready to boot your OSX partition! Just tweak your VM RAM and CPUs to make it usable.
Remarks:
- VMware tools won’t install, at least it won’t for me, so the drag n drop file feature won’t work
- Bootcamp drive will not be accessible from OSX VM because in use by the running Windows instance, same will happen for every volume you mounted in Windows, such as CD-rom and USB keys
- I don’t know if it matters in any way but I’ve installed a driver to enable writing HFS+ filesystem from Windows (otherwise it was read only). The driver I use is Paragon HFS for Windows.
Once more, this is a hack and I don’t suggest you to use this approach for daily or frequent usage.
![]()
I don’t assure you it works in every machine nor I tried in other machines, it works on mine which is a MBP 6,1 (mid 2010).

Thanks! I was very happy to see that this might be possible. Unfortunately, I get an error when powering the VM:
The physical disk is already in use. Module DiskEarly power on failed.
Sounds like a lock error, was the osx partition already in use by windows (maybe a partitioning utility or explorer etc…)?
Or, did you set properly the partition location of the VM?
It worked! Removed the drive letter from the MacOS partition in Windows and rebooted. I was then able to boot up the MacOS partition in VMware Workstation 10.
Yay! Good job! And thanx for sharing the solution to this problem. Cheers
Anyone trying this with 10.10?
I’m experiencing the same issue that DWG described, vmware Player telling me that the partition is already in use.
Windows does not assign any drive letter to the partition. I can’t think of anything else that would be interfering.
Ideas?
I can view the OSX partition through Windows Bootcamp, maybe this is the problem. Not sure how to turn this off but will see if I can. Thanks again!
I have MacBook pro Late 2013, with 512GB SSD. I did exactly what you’ve written, also I’ve removed the drive letter for mac partition, but I’m getting “The physical disk is already in use” error. Restarts didn’t help. Any ideas what may cause the issue?
I don’t think the macbook version is relevant, it’s more likely to be an OS or a configuration issue.
what versions of OSX and windows are you using?
In this experiment I used OSX 10.9 (mavericks) and Windows 7 Ultimate.
Can you describe the steps to reproduce the issue?
mmm, it sounds weird as (AFAIK) that’s enough to unmount a partition on windows.
I never tried using this hack with windows 10 though, so I’d list the partitions and disks via cmd to see if the partition is actually mounted, and, in case, unmount it via command line. ( http://www.digitalcitizen.life/how-hide-or-dismount-partition-windows )
same physical disk